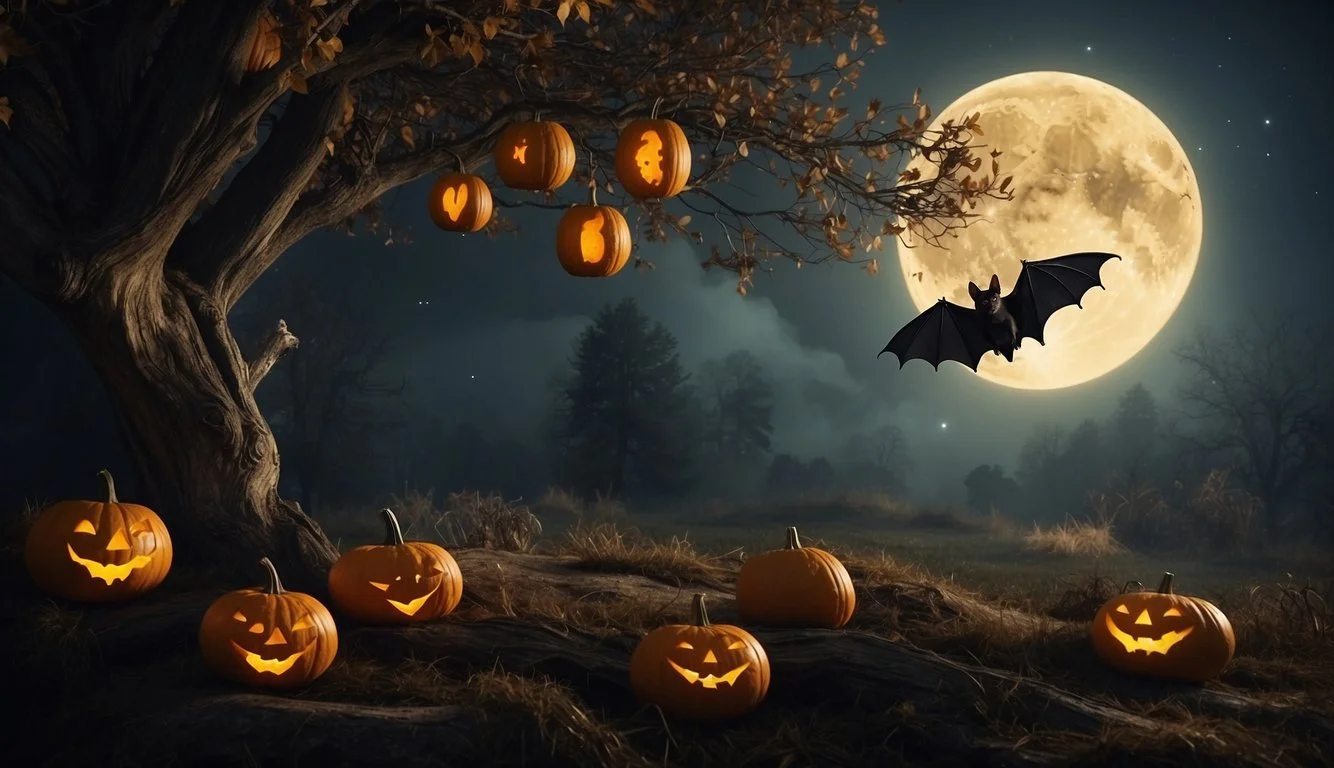
Find out how effortlessly you can learn to How to Draw a Bat for Halloween using this straightforward and easy-to-follow tutorial I’ve compiled, dedicating numerous hours to perfecting it. I’m thrilled to guide you through every step, ensuring that by the end, you’ll have a spooky bat drawing to enhance your Halloween celebrations.
Key Takeaways
- A simple step-by-step guide is provided for drawing a bat.
- Basic drawing supplies are necessary to start the project.
- The tutorial includes tips on adding details and finishing touches to the bat.
Gathering Your Drawing Supplies
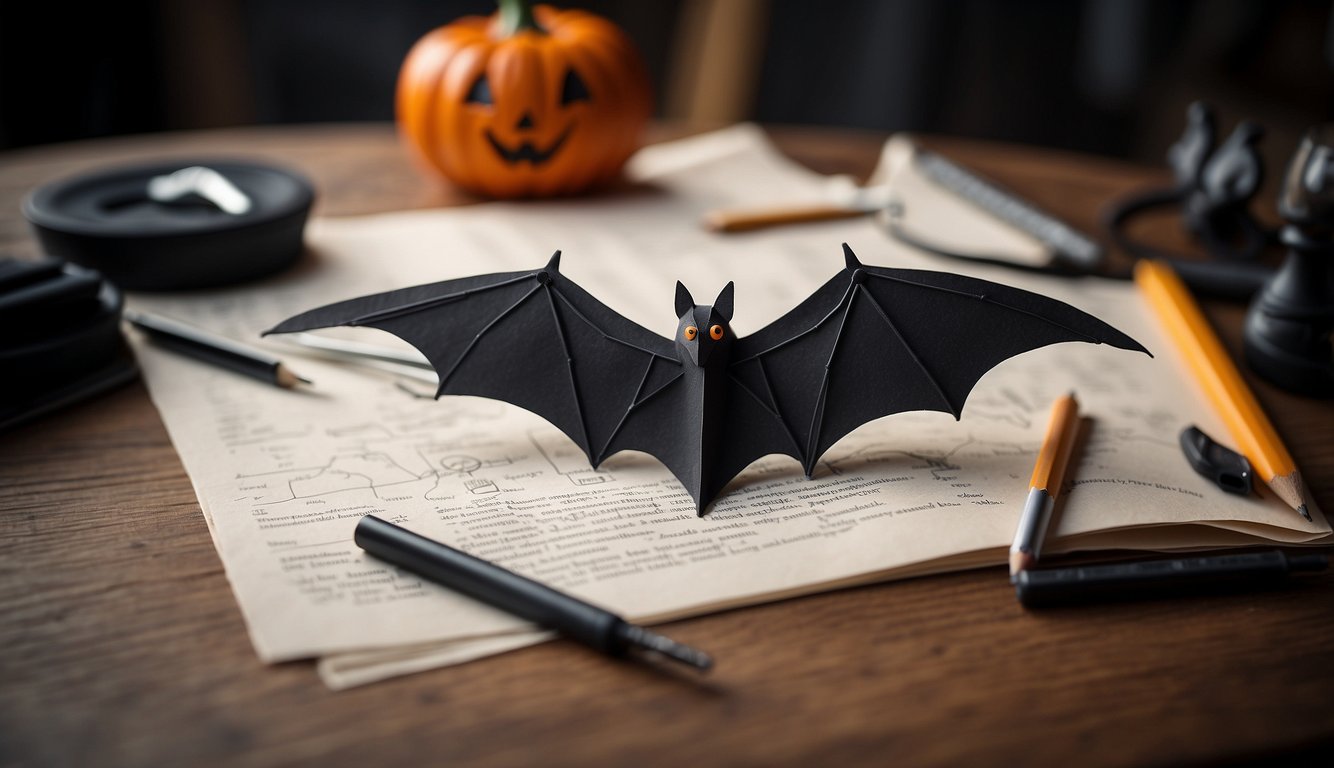
Before we start drawing our spooky Halloween bat, I want to ensure we have all the necessary drawing supplies. We’ll need the right paper and pencils for sketching and, afterward, an assortment of coloring supplies to bring our drawing to life.
Choosing the Right Paper and Pencils
The foundation of any great drawing begins with selecting the appropriate paper. For my bat drawing, I prefer a medium-weight sketch paper that can handle both pencil and coloring materials without bleeding through. Next, let’s talk about pencils. I always keep a range of pencils handy, from hard lead (H) pencils for light, sketchy lines to softer lead (B) pencils for darker, defined lines. A good eraser is also crucial—I like the kneaded ones because they don’t leave residue and can be shaped to erase small details.
Selecting Coloring Supplies
Once the sketch is ready, it’s time to choose our coloring supplies. I like having a variety of materials:
- Colored pencils: Great for adding detail and shading.
- Crayons: Perfect for filling in larger areas with bold colors.
- Markers: A set of quality markers, including a black marker for bold outlines, can really make your drawing pop.
- Ink: If you’re feeling adventurous, a dip pen and ink can give your bat a beautiful, classic look.
Remember, each type of coloring material behaves differently, so have some scrap paper to test how they look and blend before applying them to your final drawing.
Outlining the Basic Bat Shape
To effectively draw a bat for Halloween, I start by breaking down the figure into simple shapes. This approach simplifies the process, ensuring accurate proportions and a recognizable silhouette.
Drawing the Bat’s Head and Ears
I begin with an oval for the head, keeping it proportionate to the size I want my bat to be. Directly on top of this oval, I add two small triangular shapes for the ears. These shapes provide me with a basic outline, and I make sure the curves of the ears are slightly rounded—bats often don’t have perfectly pointed ears.
Sketching the Body and Wings
Next, I draw a larger oval beneath the head to represent the bat’s body. I sketch out long, extended curves for the wings starting from the top of the body. The insides of the wings have wing details like pointed edges and the membrane structure, resembling a series of stretched triangles and curves. At the bottom of the body, a simple triangle or a tail can be added for extra detail.
Adding Details for Character and Realism
When I draw a bat for Halloween, I focus on the cute and spooky elements that bring out its character. Let me show you how I add those delightful details.
Creating the Cute Bat Face
The face of a bat is where its personality really shines. I start with the eyes, making them large and round to amplify the cuteness. I add a sparkle or star in the pupils to make them lively. Pointed ears are a must; I make sure they’re large enough to be noticeable, which adds to the bat’s charming appearance. A small upside-down triangle does the trick for the nose, placed right between the eyes. When drawing the mouth, a simple curved line gives a friendly expression, but I add tiny fangs peering out to give a nod to the bat’s Halloween essence.
Perfecting the Wing Texture and Details
Now let’s tackle the texture of the wings. Here’s a bullet list I follow to ensure I don’t miss any details:
- Start with the wing membranes: Sketch thin lines radiating from the body to the wingtips for that classic bat wing look.
- Add fur detailing at the part where the wings meet the body.
- Include subtle shading along the wings to enhance the texture and give a three-dimensional appearance.
To me, these details are what turn a simple sketch into a piece full of life and character, ready to become the star of any Halloween-themed artwork.
Finishing Touches and Display Ideas
After carefully drawing my bat, I like to add those final details that really make it stand out. Whether it’s for display or as part of a craft, these finishing touches are what transform a simple sketch into a spooky piece of Halloween art.
Inking and Erasing Guidelines
Once my pencil outline satisfies me, I switch to a fine-liner or ink pen to go over the lines. This makes the edges of my bat drawing crisp and bold. When the ink dries, I gently erase any pencil marks to clean up the image, resulting in a neat and tidy silhouette. I find that using black ink really enhances the spooky feel, perfect for Halloween.
Tips for Coloring and Shading
For coloring my bat, I choose hues that compliment the Halloween theme. I typically use darker colors like purples, greens, and, of course, black to maintain that eerie vibe. Shading under the wings and around the body adds depth and a hint of realism. I prefer using colored pencils or markers for a smooth, vibrant finish.
- Colors to use:
- Black
- Purple
- Green
- Shading tips:
- Use light pressure for subtle shadows
- Darken the areas under the wings for a 3D effect
Using Your Bat Drawing for Decorations
My bat drawings aren’t just for showing off my skills; they make excellent Halloween decorations, too. I like to cut out the bat silhouettes and hang them around my home. They can also be pasted onto greeting cards to send out to friends or turned into printables for a Halloween party activity. If you’ve made several, arrange them in a flying pattern to create an impressive wall display, sure to add a spooky touch to your space.
- Decoration ideas:
- Hanging bats
- Wall display
- Greeting cards
- Party printables
Remember, a good finished drawing can be more than just a piece of art; it’s a fantastic addition to my Halloween crafts and home décor!
FAQ – How to Draw a Bat for Halloween?
What materials do I need to draw a Halloween bat?
You’ll need basic drawing materials such as a pencil, paper, and eraser. You might also want colored pencils, markers, or crayons for coloring your bat.
How do I start drawing a bat?
Begin by drawing a simple outline of the bat’s body. A small oval or teardrop shape works well for the body. For a more cartoonish bat, you might start with a circle or a fluffy cloud shape.
How do I draw the bat’s wings?
Start from the top of the bat’s body and draw a curved line extending outwards and upwards for each wing. Then, add scalloped edges to the bottom of each wing to mimic the bat’s wing membranes. Connect the points of the scallops back to the body.
If you enjoyed reading about How to Draw a Bat for Halloween?, check out our other articles:
- Costumes Halloween Essentials 2024: Choosing the Perfect Outfit
- Scary Adult Halloween Costumes 2024: Unleash Your Frightening Side!
- Addams Family Halloween Costumes 2024: Inspiration for Your Spooky Ensemble
- Mom and Daughter Halloween Costume Ideas for a Spooktacular Duo 2024
- Halloween Animals 2024: Furry & Feathery Friends of the Spooky Season
Feel free to also check out our other Articles from the category “Community Events“ and don’t forget to follow us on Pinterest.